
Review · ZIPLINING
Queenstown: 1-Hour Zipline Tour with 2-Lines & 21-Meter Drop
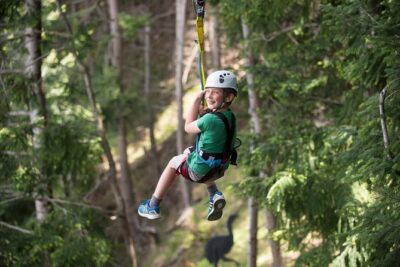
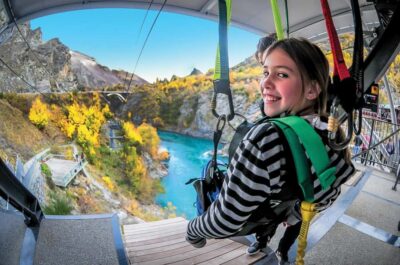
Two ziplines, one leap, zero boredom. At Ziptrek Treehouse on Bob’s Peak, I love how the ride mixes open-air speed with big views over Lake Wakatipu. And the best part is the human touch: guides like Sydney and Shazz make the whole thing feel controlled, funny, and memorable.
I also really like the 21-meter drop at the end. It’s the thrill moment you remember, with support from guides such as Ben and Reece, plus a landing that’s slowed down to a mat below. One possible drawback: this is a tight, one-hour format with just two lines, so if you’ve already zip-lined a lot, you may want the longer multi-line option instead.
In This Review
- Key things to know before you fly
- Where the Queenstown zipline starts: Bob’s Peak and Ziptrek Treehouse
- From check-in to harness up: what happens before you take off
- The first treetop zipline: speed with a view over Lake Wakatipu
- The second line and the upside-down option
- The 21-meter drop: the leap of faith ending that slows down to a mat
- The 10-minute uphill walk back on Tiki Trail
- Safety, guidance, and the fun factor (with real guide energy)
- Price and value: why $71 can feel fair for a one-hour thrill
- Who should book, and who should skip this one
- Practical tips to make your zipline feel easier
- Should you book Ziptrek’s 1-hour zipline and 21-meter drop?
- FAQ
- How long is the zipline tour in Queenstown?
- What exactly do you do on the tour?
- Where is the meeting point for the tour?
- Is the Skyline Gondola ticket included in the price?
- What is included in the tour price?
- What should I bring and wear?
- What shoes are not allowed?
- What are the age and youth rules?
- Are there weight limits?
- Can I cancel and get a full refund?
Key things to know before you fly
- Two treetop zip lines instead of a long circuit, so you get the big thrills fast
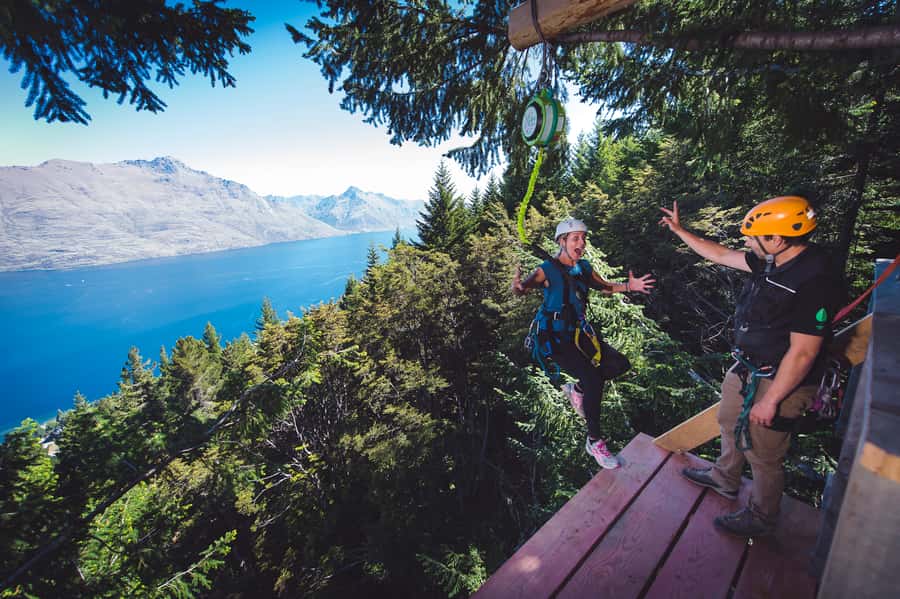
- A 21-meter drop that lets you push off forward or backward, then lands on a mat below
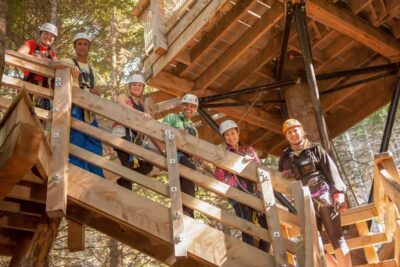
- Small group size (max 8), which usually makes instructions feel personal
- Guides teach ecology and local stories at each suspended tree deck
- You’ll still walk: a roughly 10-minute uphill return via Queenstown’s Tiki Trail
Where the Queenstown zipline starts: Bob’s Peak and Ziptrek Treehouse
This tour launches from Ziptrek Treehouse at Bob’s Peak in Queenstown. Practically, that means you start by getting yourself to the Skyline Gondola summit, then checking in at the treehouse located about 100 meters to the left of the upper gondola terminal.
Plan time for getting up there. The gondola ticket is your responsibility, not included in the zipline price. During busy periods (Christmas, New Year, Chinese New Year, and school holidays), allow at least 40 minutes to reach the upper Skyline complex from the base terminal, and up to 60 minutes if things are packed.
Why this matters: if you’re trying to fit this into a busy Queenstown schedule, the easiest win is simple timing. Give yourself a cushion so you’re not sprinting in cold air with gear half on.
More zipline runs through the beech forest above town
- Small-Group Zipline Adventure in Queenstown
★ 5.0 · 933 reviews - Queenstown: 3-Hour Zipline Adventure with 6-Lines
★ 4.8 · 485 reviews - Queenstown: 2-Hour Zipline Tour with 4-Lines
★ 4.7 · 462 reviews - Queenstown: 1-Hour Zipline Tour with 2-Lines & 21-Meter Drop
★ 4.6 · 119 reviews
From check-in to harness up: what happens before you take off
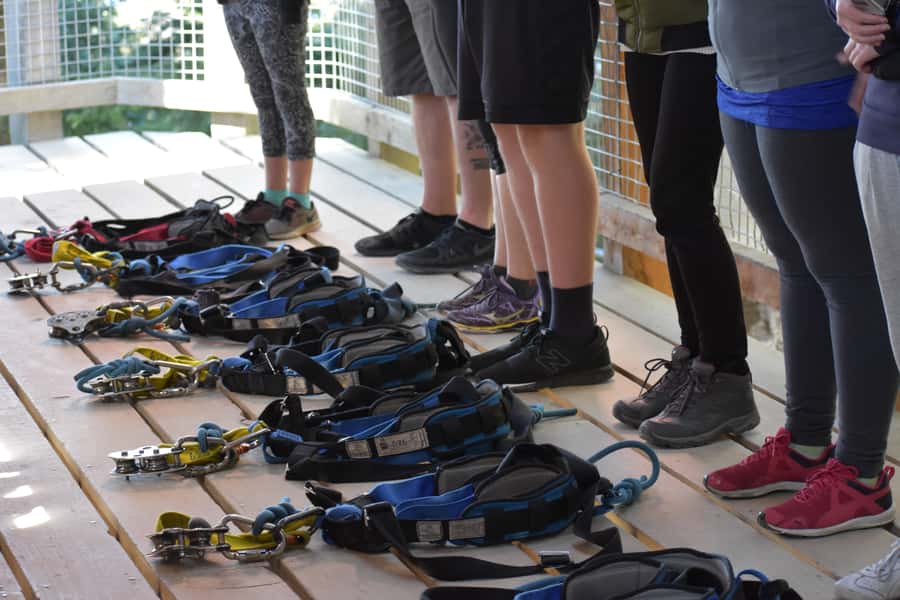
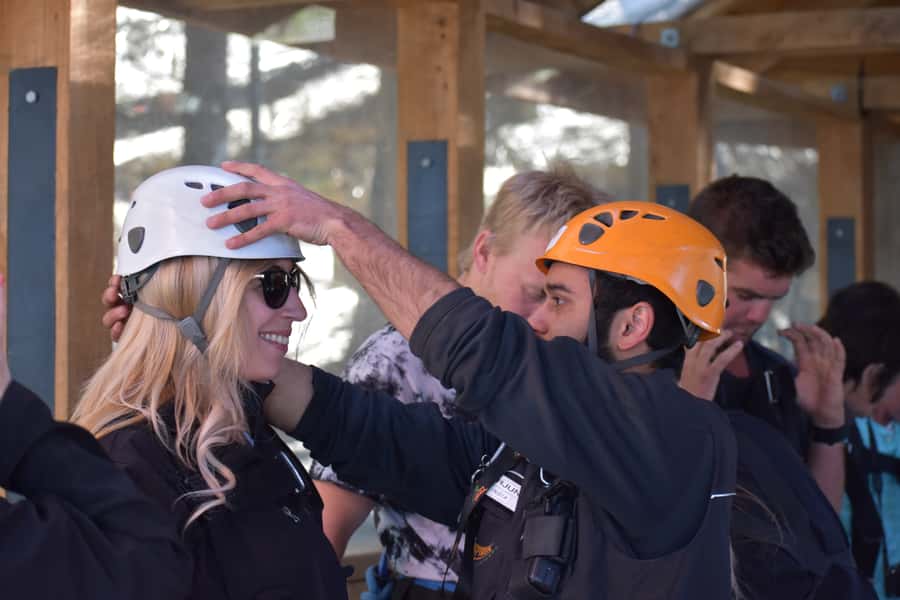
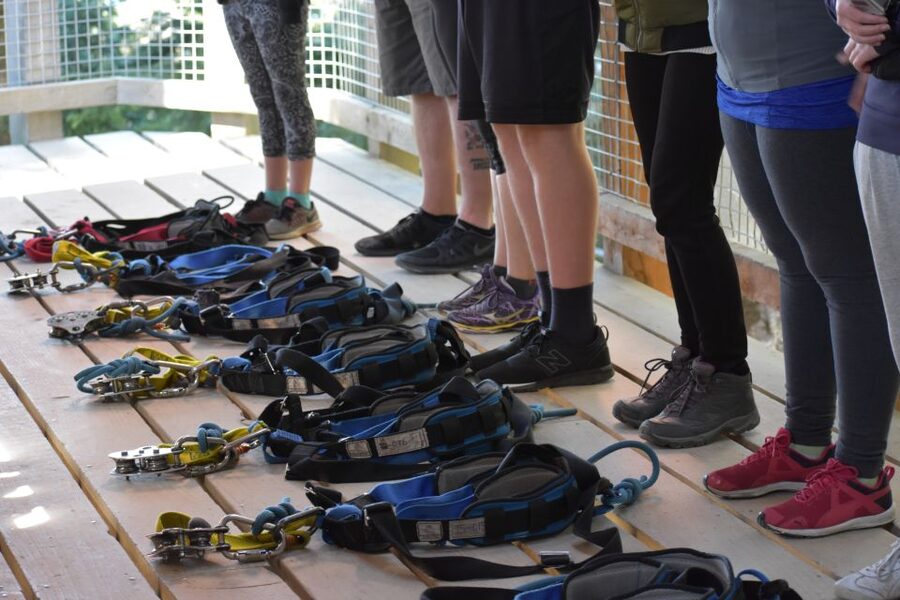
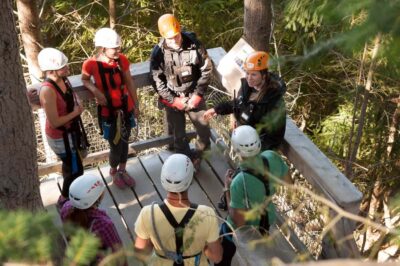
Once you arrive at the treehouse, you’ll meet experienced guides and get kitted out with everything you need. The tour includes your harness and helmet, plus the guidance to use them correctly. You’re also told what to wear and what’s allowed.
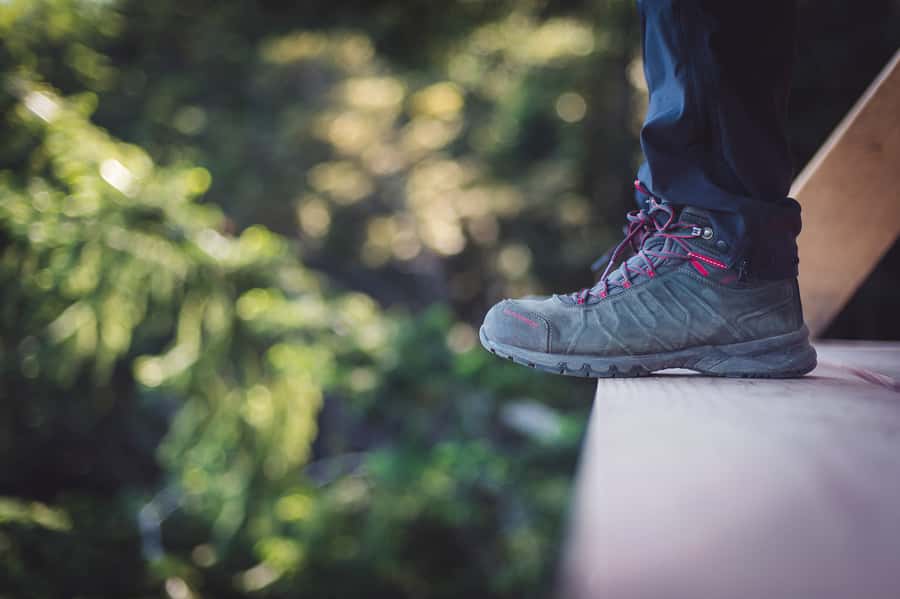
You should come prepared for the weather. Warm clothing is recommended, and you’ll want a jacket, hat, and gloves. Closed-toe shoes are required—no sandals, flip-flops, or heels. The tour also notes you should bring an extra layer year-round, which is smart in Queenstown where temperatures and cloud cover can shift.
This pre-ride step is part of the value. A lot of “thrill” tours fall apart when people feel rushed. Here, the tour is designed to be done start-to-finish in under an hour, which makes the setup feel focused: you harness up, you get instructions, and then you fly.
The first treetop zipline: speed with a view over Lake Wakatipu
You’ll launch from a tree deck with a guide system that handles both receiving and launching you at each platform. That’s a big deal for comfort. Even if you’re nervous, you’re not working out the timing yourself.
On the first zip line, you move through the treetops with open-air exposure. This is the moment where people tend to feel both speed and calm at the same time: the wind hits, but you can still take in the scenery. Your guides talk during the ride, sharing local history, myths and legends, and ecological principals at each suspended tree-house.
What you’ll likely notice right away:
- The ride feels very guided from start to finish
- The view is a major part of the fun, especially with Lake Wakatipu and the Remarkables mountain range mentioned as key sights
If you’re a first-time zipliner, this first line usually does two jobs at once: it builds confidence fast, and it helps you get used to how the harness feels before the more intense moment at the end.
The second line and the upside-down option
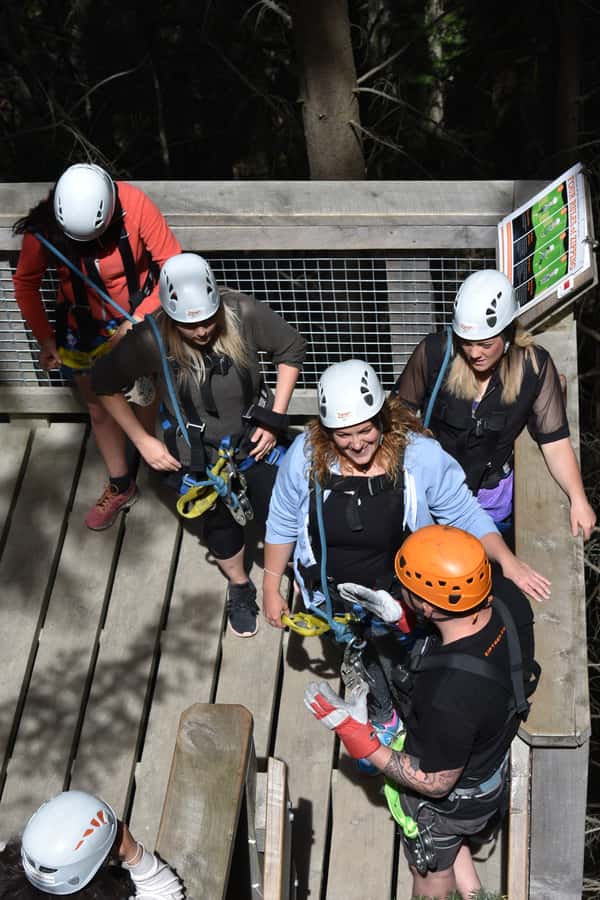
After you land from the first run, you move on to the second zip line. This one tends to feel more intense, and you also get a fun choice: you can go upside down if you wish on the second line.
That optional trick matters because it keeps the tour from being “one-size-fits-all.” If you’re the cautious one, you can keep it straightforward. If you’re feeling brave, you get a chance to add a little extra thrill without changing tours or paying for an upgrade.
Also, since the group is limited to 8 participants, you’re not watching forever or waiting through long lines. It’s a smooth flow: harness, fly, receive, repeat.

The 21-meter drop: the leap of faith ending that slows down to a mat
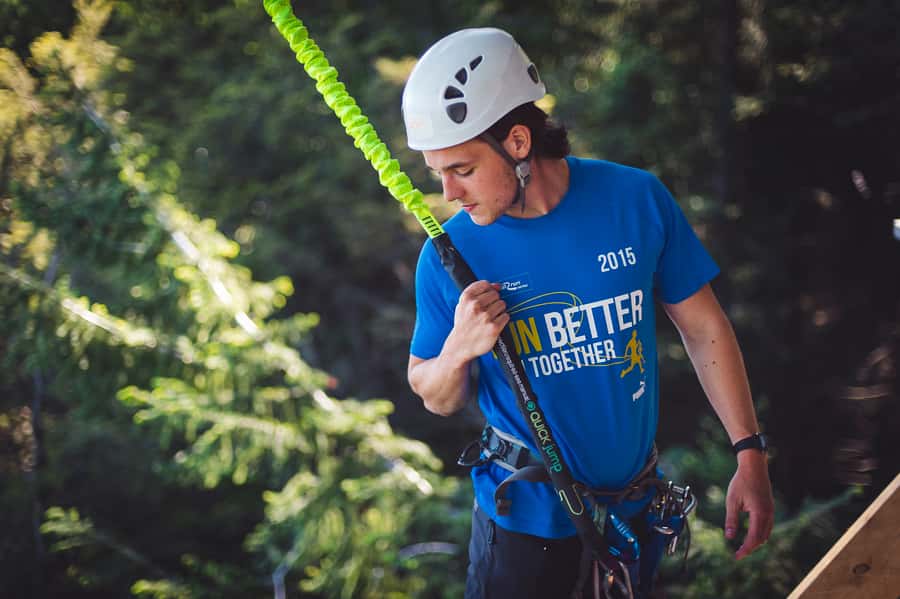
The real finish is the 21-meter drop to the forest floor. This is the part that makes the tour a different category from basic zip lines, because it’s not just sliding forward—it’s committing to a vertical moment.
Here’s what helps you mentally:
- You can push off forward or backward
- The drop is slowed down
- You end on a mat below
That last point—ending on a mat—changes the feel of the drop. It’s still a leap of faith, but it’s not a freefall-style shock. The guides are also there to assist and manage the process safely.
What I like about this design, from a visitor’s perspective, is that it gives you a big “wow” ending in a short time. You don’t need half a day, and you don’t need extra rides to justify the price.
The 10-minute uphill walk back on Tiki Trail
You don’t just leave the mountain after you fly. After the drop, you enjoy a scenic 10-minute uphill walk through Queenstown’s iconic Tiki Trail.
This part is included, and it’s not trivial if you’re wearing the wrong shoes or if you arrived in a hurry. The good news: it’s short. It’s also a chance to reset after wind and adrenaline, catch your breath, and look back at what you just did from a more grounded pace.
One more practical note: your guides launch and receive you at each tree deck, but for the return walk, you’re doing the steps yourself. Plan for light effort and bring the right footwear so you’re not thinking about blisters.
Safety, guidance, and the fun factor (with real guide energy)
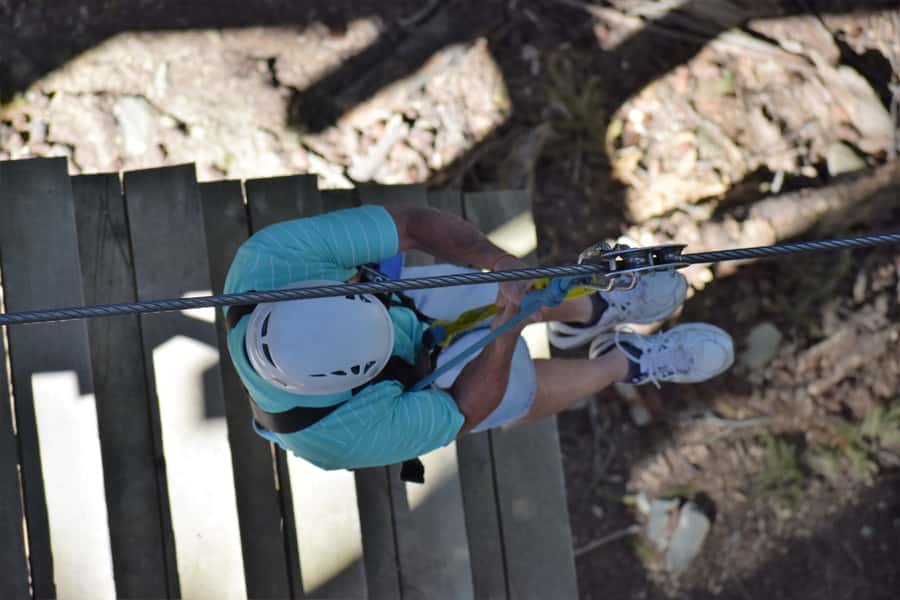
Across the experience, the theme is clear: safety is taken seriously, and the guides keep things light at the same time. In the stories people share, guides are described as funny, entertaining, and focused on equipment checks and proper technique.
Names that show up in guide shout-outs include Sydney, Shazz, Reece, Ben, Lucy, Sidney, Holly, Izzy, and others. The consistent thread is that the team uses humor and confidence-building coaching to help you move through the nerve points—especially the 21-meter drop.
For you, the practical takeaway is simple: listen closely during the safety talk and don’t overthink. When guides explain how the push-off works for the drop or how to handle the harness, you’ll feel more in control quickly.
Price and value: why $71 can feel fair for a one-hour thrill
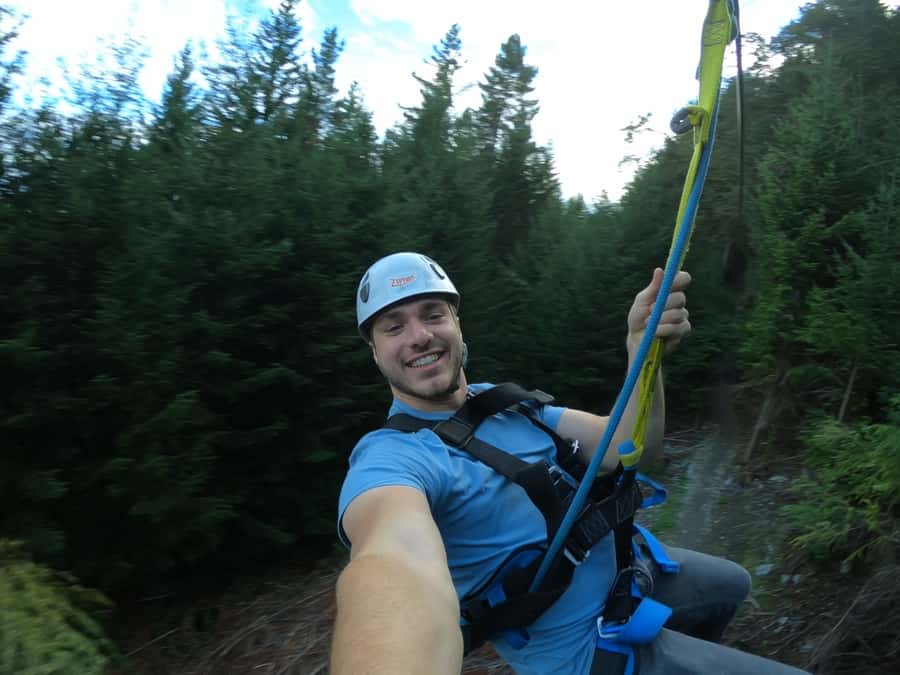
At $71 per person for a 1-hour experience, the value is mostly in what’s included. You’re not just paying for “being strapped to a cable.” Your ticket includes:
- Two zip lines
- A 21-meter drop
- A 10-minute uphill walk
- Experienced guides
- All equipment (harness and helmet)
The one cost to plan for is the Skyline Gondola ticket, which isn’t included. That’s normal for this kind of mountain access, but it does affect the total day cost.
Where this price feels especially reasonable is for short schedules. Queenstown activities can stretch your day fast. Here, you get a sequence of thrills plus interpretation of the local environment, all within about an hour—so you can keep the rest of your time for more scenic wandering or other adrenaline.
Who should book, and who should skip this one
This tour is aimed at people who want a thrill but don’t want a long multi-part program.
You’ll probably love it if:
- You’re doing Queenstown for the first time and want an easy-to-understand “big moment” experience
- You want guided flying plus learning about local myths and ecological principals
- You like the idea of a small group (limited to 8)
You should skip it if you fall into the provided “not suitable” categories:
- Children under 6 years
- Pregnant women
- People over 275 lbs (125 kg)
- Also note the tour has a minimum weight of 20 kg (44 lbs)
Kids and teens have additional rules:
- Children must be at least 6
- Youth 14 and under must be accompanied by a paying adult (15 and over)
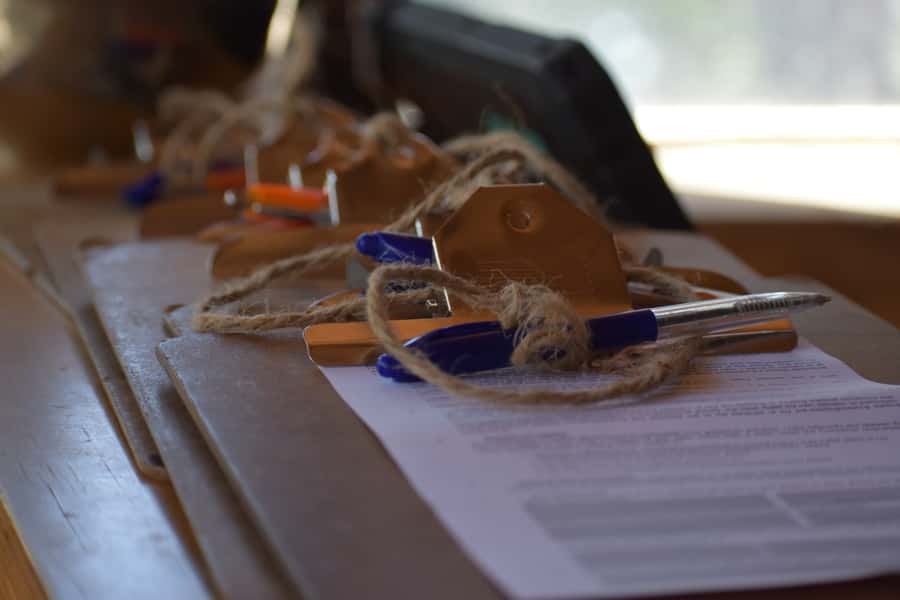
- Those 17 and under must have a waiver signed by a parent or guardian who is 18 or over
If you’re thinking of bringing someone who’s nervous, this is one of the better “confidence-building” styles. The format is short, the guides are supportive, and you’re not stuck for hours waiting for the next platform.
Practical tips to make your zipline feel easier
A few small choices can make a real difference with a treetop tour plus a 21-meter drop.
- Wear closed-toe shoes you can grip in wet or cool air
- Bring layers. Even in summer, you’ll feel wind on cables
- Gloves and a hat help more than people expect when temperatures drop
- If you want the upside-down option on line two, decide early so you can focus on technique when you’re on the platform
- Mentally prepare for the drop. You can push forward or backward, and it ends on a mat
If you’re stacking activities in Queenstown, the gondola access is a common thread. One practical pairing is adding the luge on the same day, since it also ties into Gondola access. Just keep an eye on your total time so you don’t miss your zipline slot.
Should you book Ziptrek’s 1-hour zipline and 21-meter drop?
I’d book it if you want the clean “two lines plus big finish” version of ziplining, with safety gear included and guides who bring energy. It’s also a smart choice if your schedule is tight, because the whole thing is done in under an hour while still delivering a serious thrill ending.
I’d think twice if you’ve already done a lot of zip lining and you crave a longer multi-line course. In that case, this tour may feel short. And if you’re outside the weight limits, under the age minimum, pregnant, or uncomfortable with the idea of a vertical drop—even one slowed down to a mat landing—this probably won’t be the right fit.
If your goal is one focused adrenaline hit plus learning about the local environment, this is a strong Queenstown pick.
FAQ
How long is the zipline tour in Queenstown?
The tour runs for 1 hour.
What exactly do you do on the tour?
You fly on two ziplines through the treetops and finish with a 21-meter drop to the forest floor, followed by a 10-minute uphill walk on Tiki Trail.
Where is the meeting point for the tour?
You meet at the Ziptrek Treehouse, Bob’s Peak, Queenstown. After you get to the Skyline Gondola summit, check in at the treehouse about 100 meters to the left of the upper gondola terminal.
Is the Skyline Gondola ticket included in the price?
No. The gondola ticket is your own expense.
What is included in the tour price?
Included are the zipline tour (2 ziplines and the 21-meter drop), the 10-minute uphill walk, experienced guides, and all safety equipment including a harness and helmet.
What should I bring and wear?
Bring warm clothing and closed-toe shoes. You’ll also want a jacket, hat, and gloves, with an extra layer recommended year-round.
What shoes are not allowed?
Open-toed shoes are not allowed. The tour also specifically calls out no sandals, flip-flops, or heels.
What are the age and youth rules?
Children must be at least 6 years old. Youth 14 and under must be accompanied by a paying adult (15 and over). Those 17 and under must have a waiver signed by a parent or guardian 18 or over.
Are there weight limits?
Yes. The minimum is 20 kg (44 lbs) and the maximum is 125 kg (275 lbs).
Can I cancel and get a full refund?
Yes. The tour offers free cancellation up to 24 hours in advance for a full refund.
More Runs on the Wires
- Small-Group Zipline Adventure in Queenstown★ 5.0 · 933 reviews
- Queenstown: 3-Hour Zipline Adventure with 6-Lines★ 4.8 · 485 reviews
- Queenstown: 2-Hour Zipline Tour with 4-Lines★ 4.7 · 462 reviews
More Time on the Wires
- Small-Group Zipline Adventure in Queenstown★ 5.0 · 933 reviews
- Queenstown: 3-Hour Zipline Adventure with 6-Lines★ 4.8 · 485 reviews
- Queenstown: 2-Hour Zipline Tour with 4-Lines★ 4.7 · 462 reviews
- Queenstown: Kawarau Zipride! (3 Lines – Family Fun)★ 4.5 · 6 reviews
Fresh on the Queenstown pages



Ziplining, compared.
 ★ 5.0Small-Group Zipline Adventure in QueenstownFrom $73933 reviews
 ★ 4.83-Hour Zipline Adventure with 6-LinesFrom $124485 reviews
 ★ 4.72-Hour Zipline Tour with 4-LinesFrom $95462 reviews
 ★ 4.5Kawarau Zipride! (3 Lines – Family Fun)From $296 reviews
Browse the lists this tour appears in